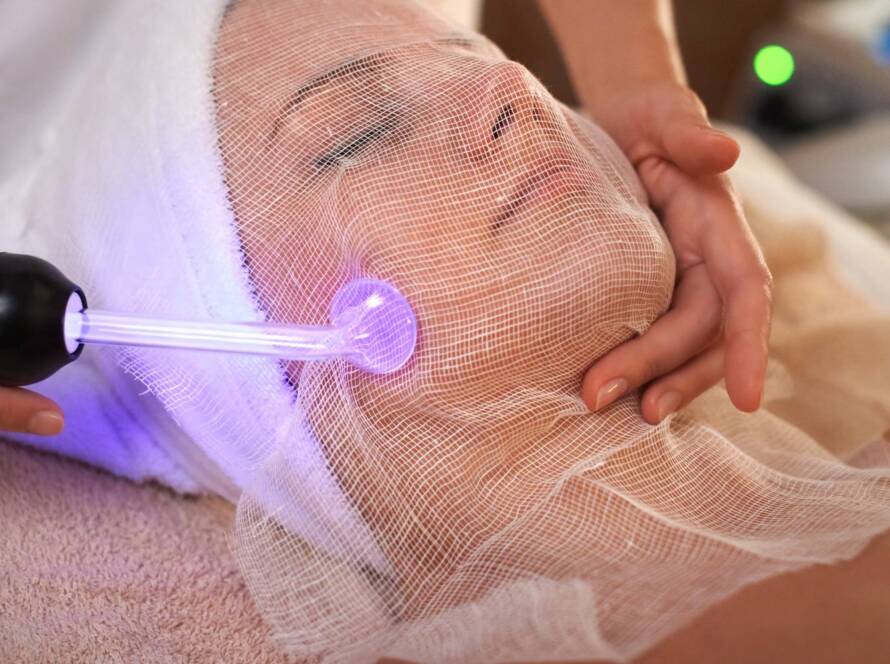
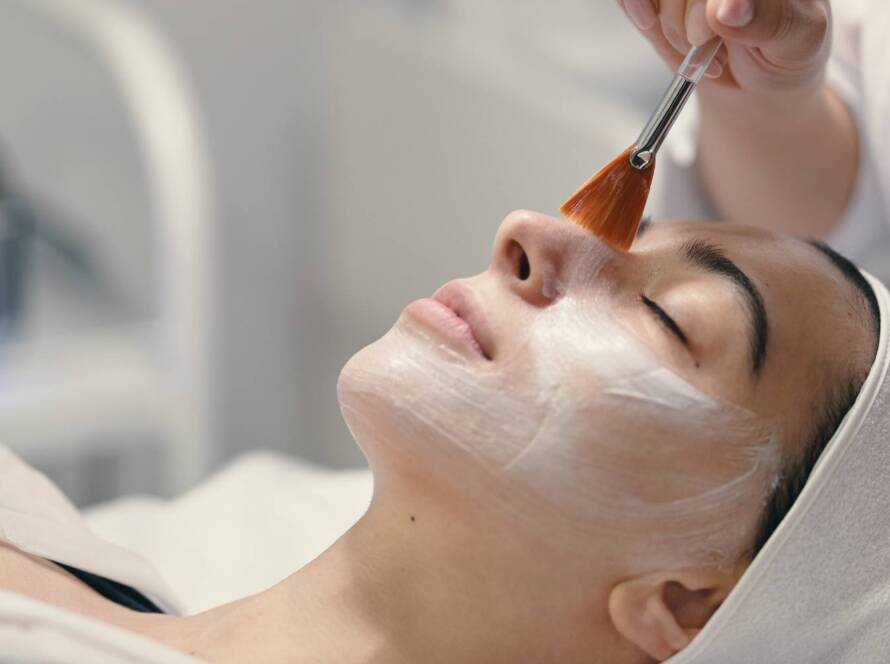
You want the smooth, even-toned results of a professional exfoliating treatment, but booking an appointment isn’t always realistic. And the shelves of acid-based products at your local beauty counter can feel overwhelming, even risky to navigate alone. Here’s the truth: an at home chemical peel can deliver genuine improvements in tone, texture, and clarity, but only when you understand exactly which ingredients your skin needs and how to apply them safely. This guide breaks down everything the estheticians at Refined Skin Club want you to know before you try one, so you can resurface your skin with confidence instead of guesswork.
What Is an At Home Chemical Peel
Acid-based exfoliation works differently than a scrub or clay mask. Physical scrubs use friction to knock off dead cells. Masks mostly draw out oil and impurities. A chemical peel uses mild acids to dissolve the bonds holding dead cells together, so skin sheds more evenly. The result is smoother texture, without the micro-tearing that harsh granules can cause.
Common Acids Used in DIY Peels
Most home formulas rely on three acid families. AHAs, like glycolic and lactic acid, work on the skin’s surface and suit dryness or dullness. BHAs, mainly salicylic acid, dissolve oil inside pores, making them useful for acne-prone or congested skin. PHAs, such as gluconolactone, offer similar benefits to AHAs but with larger molecules. They penetrate slower and go easier on sensitive skin.
Each acid targets the “glue” between dead skin cells. Once loosened, dead cells lift away, revealing fresher skin underneath. This is why peels often deliver quicker brightening results than a standard facial. Some people even compare early peel results to what they’d expect from microdermabrasion, though the mechanism is completely different.
How Peel Strength Is Measured
Strength comes down to acid concentration and pH level. Store-bought peels typically range from 10% to 30% acid, with a pH between 3 and 4. Professional-grade peels can reach 50% or higher, with a lower pH for deeper penetration. That gap explains why in-office results often beat home treatments.
Lower concentrations limit how deep a peel can safely reach at home. This caps results to the outermost skin layers, unlike treatments such as microchanneling or professional peels that reach deeper tissue. For context on safe depth limits, it helps to research can you do microneedling at home before combining resurfacing methods. If you also get lash lifts, book them on a different day from a peel so the skin around your eyes isn’t irritated.
Benefits of Using a Peel at Home
Choosing to peel at home offers real convenience and cost savings compared to repeated clinic visits. A single session costs a fraction of an in-office treatment, and you control the schedule. This makes consistent care realistic, even during busy weeks when a spa appointment just isn’t happening.
Skin Concerns These Peels Can Target
A well-chosen formula can address several common issues at once. Many people combine peeling with other habits, and research on do facials help with acne shows skincare routines work best together, not in isolation.
- Breakouts and clogged pores that respond to gentle exfoliation over repeated sessions
- Dull, uneven tone caused by built-up dead skin cells on the surface
- Rough texture left behind by sun damage or dry patches
- Early fine lines that soften with consistent, gradual resurfacing
- Visible pores that appear smaller once buildup is cleared away
Long-Term Skin Health Advantages
Used correctly, gradual improvement is the real payoff. Tone becomes more even, texture smooths out, and clarity builds session by session rather than overnight. This slower pace also cuts the risk of irritation compared to aggressive one-time treatments.
Reputable options like Medical-Grade At-Home Chemical Peels are formulated to support this steady progress safely, helping acne control and fine lines improve over months of regular use.
At-Home Chemical Peel vs In-Office Chemical Peel
Strength and Ingredient Comparison
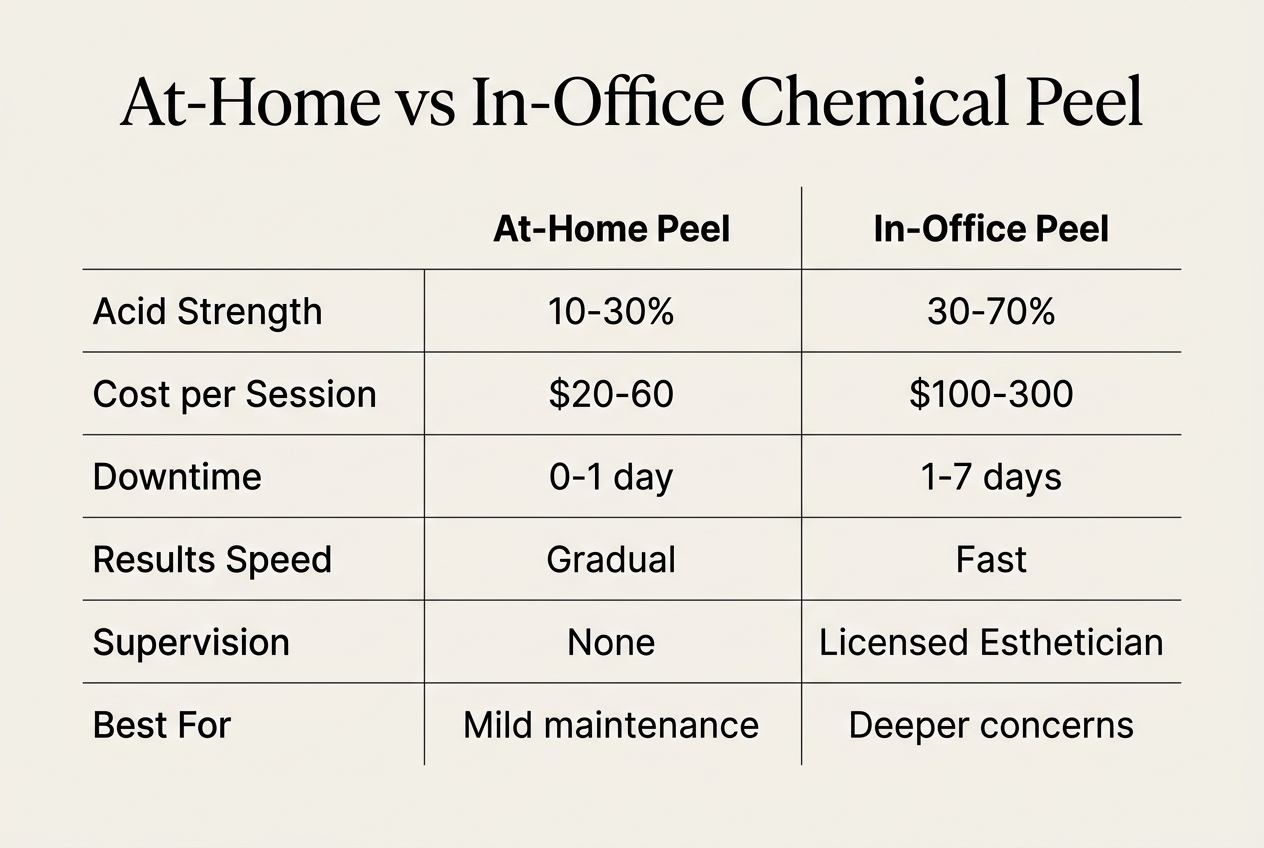
Professional chemical peels use higher acid concentrations and reach deeper skin layers than most retail kits, including options like Certified Chemical Home Peels – Treat Acne, Wrinkles & …. The table below breaks down the key differences.
| Factor | At-Home Peel | In-Office Peel |
|---|---|---|
| Acid concentration | 10%-20% | 20%-70% |
| Depth of exfoliation | Superficial | Superficial to medium |
| Safety monitoring | None, self-applied | Licensed professional oversight |
| Average cost per session | $20-$60 | $100-$400 |
| Downtime | 0-2 days | 3-10 days |
Downtime and Results Expectations
A DIY peel offers mild flaking and a quick recovery, often invisible by the next morning. In-office treatments, sometimes paired with microneedling or microchanneling for enhanced results, cause noticeable peeling and redness for up to a week. Professional settings also allow immediate correction if a reaction occurs, something home use simply can’t offer. Results build gradually with home peels and need consistent monthly use, while clinical peels show sharper, faster improvement in fewer sessions.
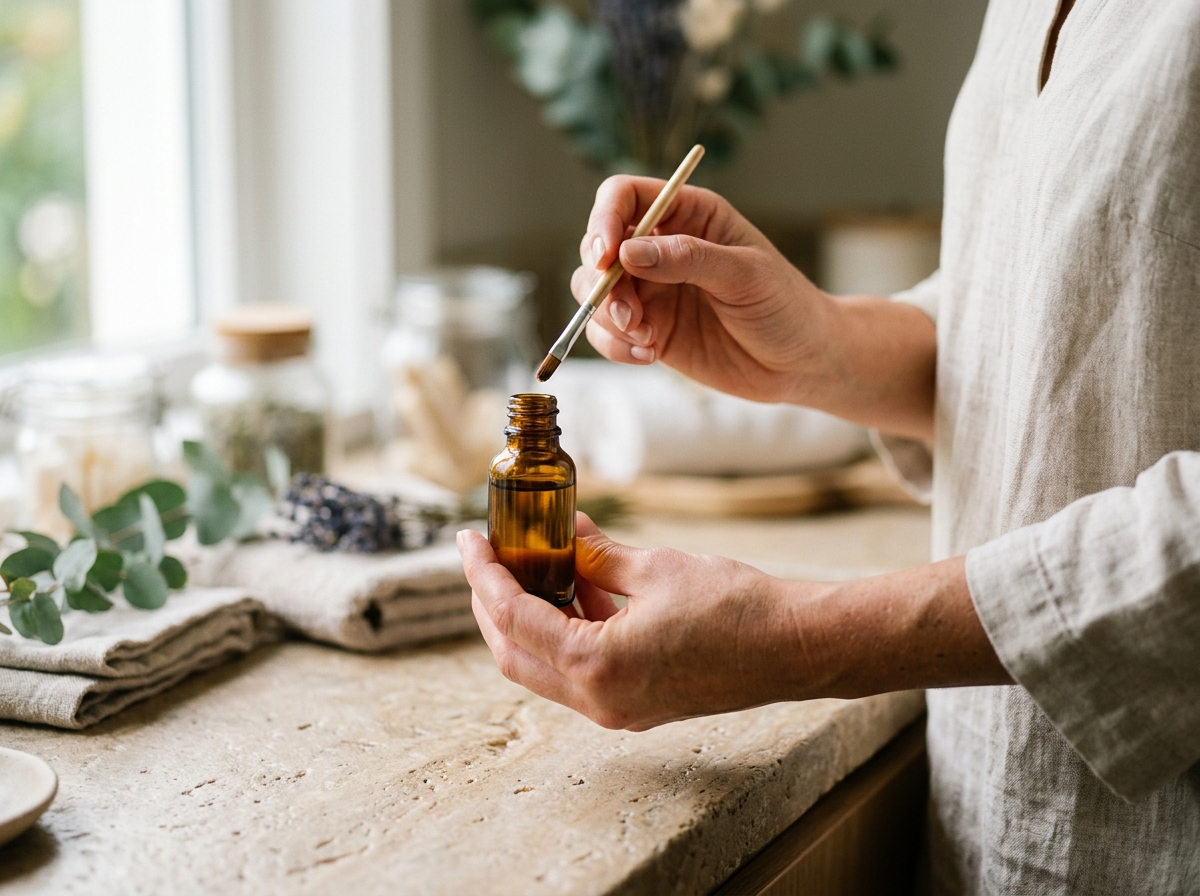
Who Should and Shouldn’t Try a DIY Peel
Suitable Skin Types
DIY peels work best on normal, oily, or combination skin with no active irritation. If your skin tolerates retinoids, vitamin C, or exfoliating acids a few times a week without redness, you’re likely a good candidate. Fair to medium skin tones with mild sun damage, dullness, or occasional breakouts tend to see the smoothest results from low-percentage glycolic or lactic acid formulas.
Beginners should always patch test first and start with the mildest concentration available, no more than 10 percent. If you’ve had in-office Chemical Peels, Microdermabrasion, or Dermaploning before and know how your skin reacts to resurfacing, that history is a helpful guide for choosing an at-home strength. For those exploring options beyond needles or scalpels, browsing treatments that dont require a knife can offer useful context on what’s realistic at home.
When to See a Professional Instead
Skip DIY peels if you have eczema, rosacea, active cystic acne, open wounds, or a history of cold sores triggered by exfoliation. Darker skin tones face higher risk of hyperpigmentation and should get guidance before trying stronger acids at home. Anyone using prescription retinoids, isotretinoin, or recent laser treatments needs a supervised approach instead.
Pregnancy and breastfeeding rule out salicylic acid in most cases, and certain medications increase sun sensitivity, raising burn risk. When in doubt, a virtual consultation or reviewing curated Treatments + Peels options with a trained esthetician is the safer path.
How to Prepare Your Skin Before Peeling
Patch Test Guidelines
A patch test is non-negotiable before any peel touches your face. Apply a small amount of product to your inner forearm or behind your ear, then wait 24 to 48 hours. Watch for redness, itching, or swelling that lasts more than a few hours. If your skin looks calm, build tolerance slowly. Start with shorter contact times and lower strength acids, then increase gradually over several weeks. This approach mirrors the same prep logic used before how to prepare for a facial, where gentle introduction always comes first.
Pre-Peel Do’s and Don’ts
Certain habits and products raise your sensitivity and your risk of irritation or burns. Review this checklist before scheduling the session:
- Stop retinoids, retinol, and prescription-strength vitamin A products at least five to seven days beforehand.
- Skip other exfoliating acids, scrubs, or dermaplaning for a full week prior to peeling.
- Avoid waxing treatments, laser sessions, or microdermabrasion within seven to ten days of your planned peel.
- Stay out of direct sun and tanning beds, since sunburned or tanned skin peels unevenly.
- Cleanse with a gentle, fragrance-free cleanser on peel day, then let skin dry completely before application.
- Choose a quality formula matched to your tolerance level, with the acid percentage and pH printed on the label.
Following these steps keeps your skin barrier ready for a safer, more even result.
Step-by-Step: How to Do an At Home Chemical Peel
Application Steps in Order
A clean, dry face is the starting point every time. Skip lotions, oils, or serums before applying the acid. Work in thin, even layers using a fan brush or cotton pad, moving from the forehead down to the chin and neck last. Avoid the eye area, nostrils, and any broken skin. Set a timer the moment the product touches your skin. Never guess at timing.
Timing and Neutralization Tips
Timing changes based on the product and its strength, so follow the contact time printed on the label exactly and never leave a peel on longer than directed. For home use, the FDA cites an expert safety panel’s conclusion that alpha hydroxy acid products are safe at a concentration of 10 percent or less with a pH of 3.5 or higher. Stronger glycolic, lactic, or salicylic peels belong with a trained professional.
Stop early if burning feels sharp instead of tingly. Keep a bowl of cool water, gauze pads, and a gentle moisturizer nearby before starting. For extra background on ingredient safety, this resource on Face Off: What To Know About At-Home Chemical Peels offers helpful medical perspective. Some readers also ask whether does saltwater help with acne before trying acid-based options.
Choosing the Right Peel for Your Skin
Peel Types by Skin Concern
Matching the acid to the problem matters more than picking a trendy product. Glycolic acid works well for dullness and rough texture because it dissolves easily and penetrates fast. Salicylic acid targets acne and clogged pores since it’s oil-soluble and calms inflammation. Lactic acid suits sensitive or dry skin, offering gentle exfoliation with added hydration.
For pigmentation or uneven tone, mandelic acid or kojic acid blends often perform better than stronger acids, since they slow melanin production without heavy irritation. Trichloroacetic acid (TCA) can encourage collagen renewal for aging concerns, but it works fast and is best applied by a trained professional rather than at home.
Combination skin sometimes needs a blended formula that addresses both oil and dryness at once. Choosing based on concern, not marketing claims, leads to safer, more predictable results.
Reading Product Labels Correctly
Percentage strength shows how much active acid is in the formula. Higher numbers aren’t always better. A 10% glycolic acid is the most that safety panel considers safe for home products, while 30% belongs in a professional setting. The pH level matters too. Lower pH means faster, stronger action, so for home use, look for a pH of 3.5 or higher.
Kits usually include a prep solution, the peel itself, a neutralizer, and a post-peel moisturizer. The prep step removes oil for even absorption. The neutralizer stops the acid from working once timing is complete. Skipping it can extend exposure and cause damage. Following botox aftercare style discipline, meaning gentle products and sun protection, helps skin recover properly after any at-home resurfacing session.
Aftercare and Managing Side Effects
Post-Peel Skincare Routine
What you do after the peel matters just as much as the peel itself. Skin is more vulnerable right after treatment, so gentle care speeds healing and prevents damage. Simplicity is key for the first several days.
- Cleanse with a mild, fragrance-free cleanser and lukewarm water, avoiding scrubbing or exfoliating tools.
- Apply a rich, barrier-repairing moisturizer several times a day to ease tightness and flaking.
- Skip retinoids, acids, and other active ingredients until peeling fully resolves, usually five to seven days.
- Use a cool compress for fifteen minutes if redness or mild swelling feels uncomfortable.
- Let skin shed naturally instead of picking or peeling it manually, which can cause scarring.
- Apply broad-spectrum SPF 30 or higher every morning, since new skin burns easily and sun exposure can undo results.
If you’re comparing products before your next session, this roundup of the 14 Best At-Home Chemical Peels of 2026, Tested by Experts offers useful context on formulas and strengths.
Warning Signs to Watch For
Mild redness, tightness, and flaking are normal and typically fade within three to seven days. Concerning symptoms look different. Watch for intense burning that doesn’t subside, blistering, oozing, or swelling that worsens after 48 hours. Dark scabbing or uneven pigment changes also warrant a call to a provider. If side effects escalate rather than improve daily, stop all products and seek professional guidance promptly. Some clients later explore complementary options, including med spa treatments that can get rid of a double chin, once their skin has fully recovered.
Results Timeline: What to Expect After Peeling
First Week Changes
Day one brings mild redness and tightness, similar to a sunburn. This usually fades within a few hours. By day two or three, skin may feel dry or itchy as the top layers prepare to shed. This is normal and signals the peeling process has started working beneath the surface.
Days three through five typically show the most visible flaking, especially around the mouth, nose, and forehead. Avoid picking, since forced peeling can cause scarring or dark spots. By day six or seven, most flaking stops, revealing smoother, brighter skin underneath.
Visible improvements in tone and texture often appear by day seven, though deeper concerns like acne scars or sun damage may need several sessions. Patience matters here, since rushing the process undermines results.
Building a Peeling Schedule
Once skin has fully recovered, spacing future sessions correctly protects the skin barrier. Most mild peels work well every three to four weeks. Stronger formulas may need six to eight weeks between treatments to avoid irritation or thinning.
Understanding how often should you exfoliate your skin helps prevent overlapping routines that stress the skin. Pairing peels with gentler care, like occasional microdermabrasion or oxygen spray sessions, supports steady, long-term improvement without overwhelming the skin.
Common Mistakes That Damage Skin
Application Errors to Avoid
Over-exfoliating ranks as the top cause of at-home peel damage. Using a peel more often than recommended strips healthy skin cells before they finish renewing. Many people layer retinol, vitamin C, and an acid peel in the same week, thinking faster equals better. Instead, the barrier weakens, redness lingers, and breakouts often follow within 48 hours.
Skipping a patch test is another common error. Applying acid to the inner arm 24 hours before a full-face session reveals allergies or sensitivity early. Without this step, reactions show up on the face, where they’re harder to hide and slower to heal.
Sunscreen gets forgotten too often after peeling. Fresh skin burns easily, since peels remove the outer layer that normally blocks UV rays. Daily SPF 30 or higher, reapplied every two hours outdoors, protects new skin and prevents dark spots from forming.
Product Pairing Pitfalls
Expired acids lose potency unevenly, sometimes weaker, sometimes unpredictably strong. Check the manufacture date before every session. Mismatched concentrations cause similar problems. Jumping from a 10% glycolic peel to a 30% version often causes chemical burns, not smoother skin, which is why stronger peels belong with a trained professional.
Mixing exfoliating acids with benzoyl peroxide or strong retinoids the same day multiplies irritation risk. Space these products across different days instead. Anyone unsure which combination fits their skin can request a virtual skin consultation before buying new products or scheduling in-office treatments like microdermabrasion or dermaplaning.
When to Consider a Professional Peel Instead
Signs You’ve Outgrown DIY Peels
Sometimes home kits stop working. If you’ve used the same low-strength acid for months and flat, dull-looking skin still stares back, that’s a signal. Plateaued results often mean your skin needs a stronger concentration than store shelves allow. Stubborn dark spots, deep acne scarring, or uneven texture that won’t budge usually require clinical-grade percentages applied by trained hands.
Certain conditions also fall outside safe DIY territory. Melasma, active cystic acne, or textured scarring can worsen if treated with the wrong acid or wrong strength. These cases need a customized approach, sometimes combining a peel with microchanneling or microcurrent for deeper repair.
Another sign: your skin reacts unpredictably. If you’re seeing prolonged redness, uneven peeling, or breakouts after every attempt, your barrier may need professional evaluation rather than another round of guesswork at home.
What Happens During a Clinical Peel Visit
A professional visit starts with a real consultation. A dedicated provider examines your skin, asks about history, and reviews products you’re using. Many clinics also offer a virtual skin consultation beforehand, so you arrive with a plan already started.
During the session, the esthetician selects an acid type and strength suited to your goals, whether that’s melasma, acne scarring, or general resurfacing. Extractions, oxygen spray, or a calming mask may follow to reduce downtime. You’ll leave with written aftercare instructions and a realistic timeline for results.
Most providers also build a longer-term plan, spacing sessions weeks apart and tracking progress with photos. For ongoing education between visits, many practices maintain a blog covering skincare routines, ingredient science, and treatment updates worth reading.
An at-home peel can keep mild dullness and rough texture in check, but it works best when you treat the label as a rulebook: stay at low strength, patch test first, time every application, and never skip sunscreen afterward. If you have melasma, active cystic acne, a darker skin tone with a history of dark marks, or you use isotretinoin or prescription retinoids, skip the DIY route and get professional guidance first. And if a product ever burns sharply, blisters, or leaves uneven pigment, stop using it and have your skin checked rather than pushing through.