Smooth, frizz-free strands sound dreamy until you clock the price tag, the formaldehyde fumes, and the three-day no-wash rule that comes with a keratin treatment. You’re left wondering if it’s really worth it, or if your scalp and skin deserve a gentler, more sustainable approach. It’s a fair question. Here’s what keratin treatments actually do to your hair, what they really cost you, and which scalp and skin-focused options might serve you better heading into 2026.
What a Keratin Treatment Actually Is
Keratin vs. Other Smoothing Services
At its core, the process coats each strand with a liquid keratin protein, then seals it in using a flat iron run at high heat. The heat bonds the protein to the hair’s outer layer, the cuticle, filling in rough spots so frizz lies flat and light bounces off smoother. Nothing about this restructures the hair’s internal bonds. That’s the part people miss.
A relaxer or a straightening perm works differently, and more aggressively. It breaks down the hair’s natural disulfide bonds with strong alkaline chemicals to permanently change its shape. Grow it out, and the new hair comes in exactly as curly or coily as before, while the treated length stays altered until it’s cut away. A keratin service doesn’t rebuild anything — it coats and smooths, which is why it washes and grows out rather than growing in straight.
One more thing worth saying plainly: this is a hair-salon service, full stop. A skin clinic or spa isn’t the place for it, and you shouldn’t expect to find it on a treatment menu built around facials, peels, or scalp work. If frizz and texture are your concern, a headspa session can still leave hair feeling calmer and the scalp genuinely cared for, even though it’s solving a different problem entirely.
How Long Results Actually Last
Most people see smoothness hold for somewhere between two and five months. Fine, straighter hair tends to hold longer. Thick, very curly, or coarse hair sheds the effect faster, often closer to the two-month mark. Wash frequency matters too — sulfate shampoos strip the coating faster, which is part of why many local businesses sell a sulfate-free aftercare kit alongside the service.
Results don’t vanish overnight. They fade gradually, strand by strand, as new unsmoothed growth appears at the root and older treated hair slowly washes out from the tip up. Humidity and sweat speed that decline along, which matters if you’re weighing the timing against summer travel or a gym routine. Expect a touch-up appointment, not a one-and-done fix.
Because the results are temporary by design, it helps to think of this as a maintenance cycle rather than a single transaction. Many people pair the smoothing phase with closer attention to overall hair and scalp health in between appointments, and reading up on hair and scalp care can help you figure out where a smoothing service fits into that bigger picture. Skip the upkeep, and you’ll just be paying for frizz to come back sooner.
Professional Keratin Treatment: Process, Cost, and Downtime
Walk into most salons for this service and you’ll follow the same basic script, give or take a product brand. The session itself runs long, so clear your calendar before you book.
What Actually Happens in the Chair
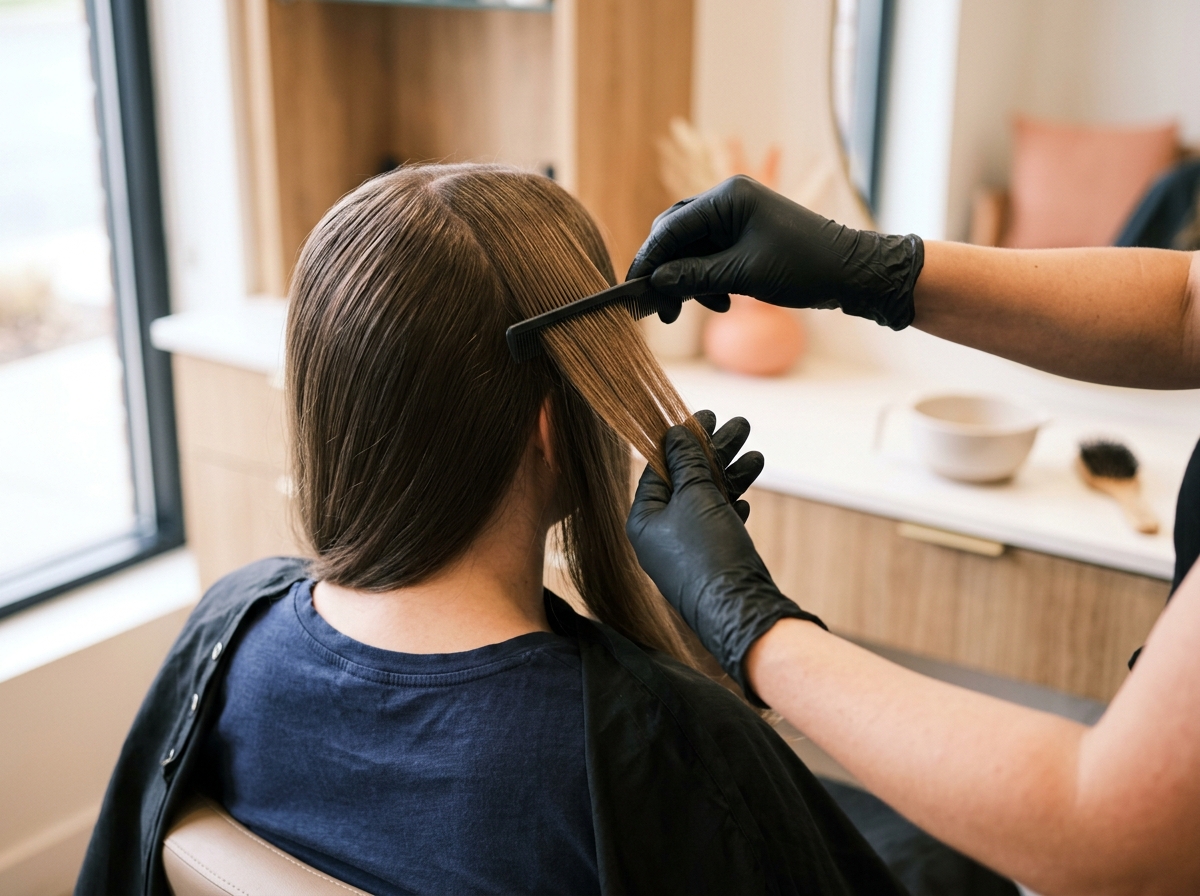
First comes a cleansing wash to strip oil and buildup, since product residue blocks absorption. Then the stylist sections your hair and brushes the keratin solution through strand by strand. A partial blow-dry follows to lock moisture out, then a flat iron — run at high heat, often multiple passes per section — seals the formula into the hair shaft. The sealing step is non-negotiable; skip it and the treatment won’t hold.
| Step | What Happens | Approximate Time |
|---|---|---|
| 1. Wash | Clarifying shampoo removes oil and styling residue | 10–15 min |
| 2. Apply solution | Keratin formula brushed onto sectioned, damp hair | 30–45 min |
| 3. Blow-dry | Hair dried partially to prep for sealing | 20–30 min |
| 4. Flat-iron seal | High-heat passes bond keratin into each strand | 45–90 min |
| 5. Rinse (if required) | Some formulas call for a final rinse 48–72 hours later | 10 min |
Total time in the chair usually lands between two and four hours, depending on hair length and thickness. Pricing follows the same logic: shorter hair starts around $250–$300, while long or very thick hair can run $500–$700 at many local businesses. That’s not a small ask. Budget for it like you would any investment in your look.
The 48-to-72-Hour Rule
No washing, no ponytails, no tucking hair behind your ears with a clip. Sweat, rain, even a damp pillow can undo the bond before it’s fully set. Most providers hand you a care sheet on the way out — follow it exactly, because that’s when the treatment actually finishes curing, not when you leave the salon.
Formaldehyde: Know Before You Book
Many traditional formulas release formaldehyde gas when heated. Effective, but linked to eye and respiratory irritation, which is why ventilation matters in the treatment room. Formaldehyde-free versions use substitutes like glyoxylic acid; they’re gentler but often fade faster and smooth less dramatically. Ask your provider which type they use and read the safety data sheet if one’s offered. Separately, if frizz has you reaching for heat tools weekly, pairing any chemical service with proven summer skincare tips helps protect color and scalp health through hot, humid months.
At-Home Keratin Kits vs. Salon Treatments
Do-It-Yourself Risks to Know Before You Start
Drugstore shelves are full of “keratin smoothing” kits that promise salon results for under $30. Some do a decent job on mild frizz. But the gap between a box treatment and a professional session is bigger than the price tag suggests, and it’s worth understanding before you buy one.
The biggest problem is control. A trained hand sections hair evenly, applies product at a measured rate, and times each step with a clock. You, standing in your bathroom with a mirror and sore arms, are working blind on the back of your head. That’s where things usually go wrong.
- Uneven saturation is common, leaving some sections smooth and others still puffy or frizz-prone within a few weeks.
- Heat tools at home rarely hit the precise, sustained temperature that locks the formula into the hair shaft, so results fade faster, often in four to six weeks instead of three to four months.
- Over-application near the scalp can cause irritation or breakouts along the hairline, especially if you already deal with sensitive or acne-prone skin.
- Formaldehyde-releasing ingredients in cheaper kits are harder to ventilate properly in a home bathroom than in a salon with proper airflow systems.
- Box treatments rarely account for color-treated or chemically processed hair, which can lead to unexpected dryness or breakage.
- There’s no professional eye to catch early signs of scalp sensitivity before it becomes a bigger issue.
A DIY recipe can make sense for short-term touch-ups on healthy, low-maintenance hair with a simple goal: less frizz for a week, not a full transformation. For curlier, color-treated, or finer hair, professional application is usually worth the cost. If your real concern is overall texture and shine rather than just frizz, pairing hair care with non-invasive treatments for smoother results on the skin side can round out the effort.
Caring for Your Scalp and Skin During a Keratin Treatment Cycle
Let’s be honest about what a smoothing session does to the skin around your hairline, because most of the talk online is about the hair, not the scalp underneath it. The process involves formaldehyde-releasing solutions and a flat iron run at 400-450°F close to your roots. That combination can leave the hairline red, tight, or flaky for a few days. If you’re prone to sensitivity, it’s worth knowing whether saltwater helps with acne before you reach for a home remedy on irritated skin, since salt can sting rather than soothe freshly stressed areas. Fumes matter too — ask your stylist about ventilation, and don’t skip the post-treatment rinse timeline they give you.
The other issue nobody mentions: product buildup. Smoothing serums, heavy creams, and the stiff styling products many people use to protect the new coating tend to sit right at the hairline and jaw. That residue clogs pores fast. Breakouts along the forehead edge or jawline a week or two after a smoothing service are common, and they’re often mistaken for a skin reaction to the chemicals themselves. Understanding what causes blackheads and how to treat them helps explain why oil and product film trapped against skin behaves differently than a true allergic response. A facial with proper extractions clears that buildup without disturbing the hair coating itself, since treatment stays focused on skin, not strands.
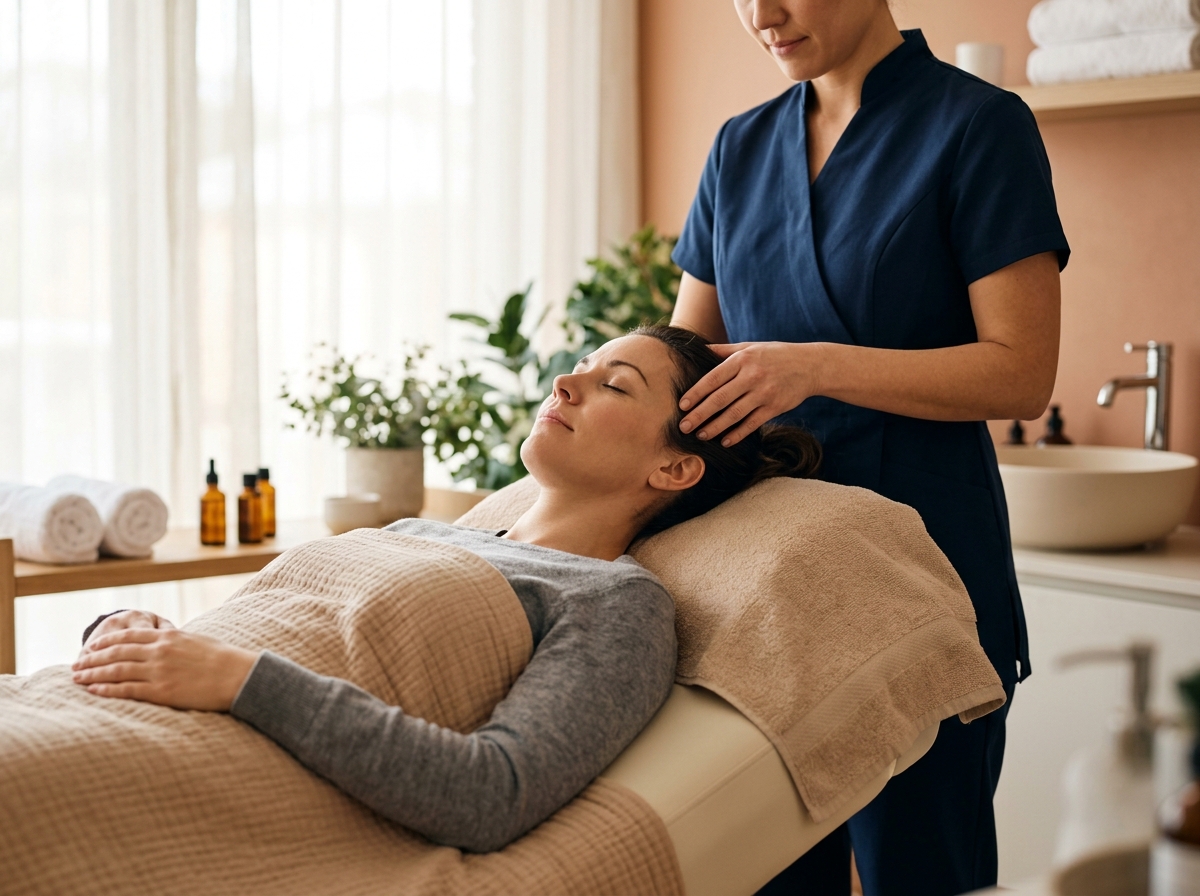
Between chemical appointments, your scalp still needs attention — it’s been through a lot. A headspa session supports circulation and eases tension without touching or weakening the keratin bond, which makes it a smart, low-risk add-on during the weeks you’re maintaining the treatment. Many local businesses market headspa as pure relaxation. Fair enough, but the circulation benefit is real, not just marketing. Pairing that with a facial to manage hairline congestion gives you a fuller approach: calmer scalp, clearer skin, treatment left completely intact.
If Your Real Goal Is Thinning Hair, Not Frizz
Why Smoothing and Thickening Are Different Problems
Let’s clear something up. A smoothing treatment works on the hair shaft you already have, flattening the cuticle so strands lie down and reflect light evenly. It does nothing below the surface. If what’s actually bothering you is a widening part or a hairline that’s crept back, no amount of smoothing solves that. Frizz and density are two separate problems, and treating one won’t touch the other.
Some people pursue a surgical hair transplant for permanent grafting elsewhere — a real option, but one that involves incisions, a recovery window, and a real financial commitment. It’s worth knowing that path exists before you assume a smoothing service was ever meant to compete with it. For context on the biology behind thinning and regrowth, learning about regenerative approaches to hair health helps explain why some non-surgical routes focus on the follicles you still have rather than replacing the ones you’ve lost.
That distinction matters when you’re comparing options and budgets side by side. One rebuilds from scratch, surgically. The other supports what’s already growing.
The Non-Surgical Middle Ground
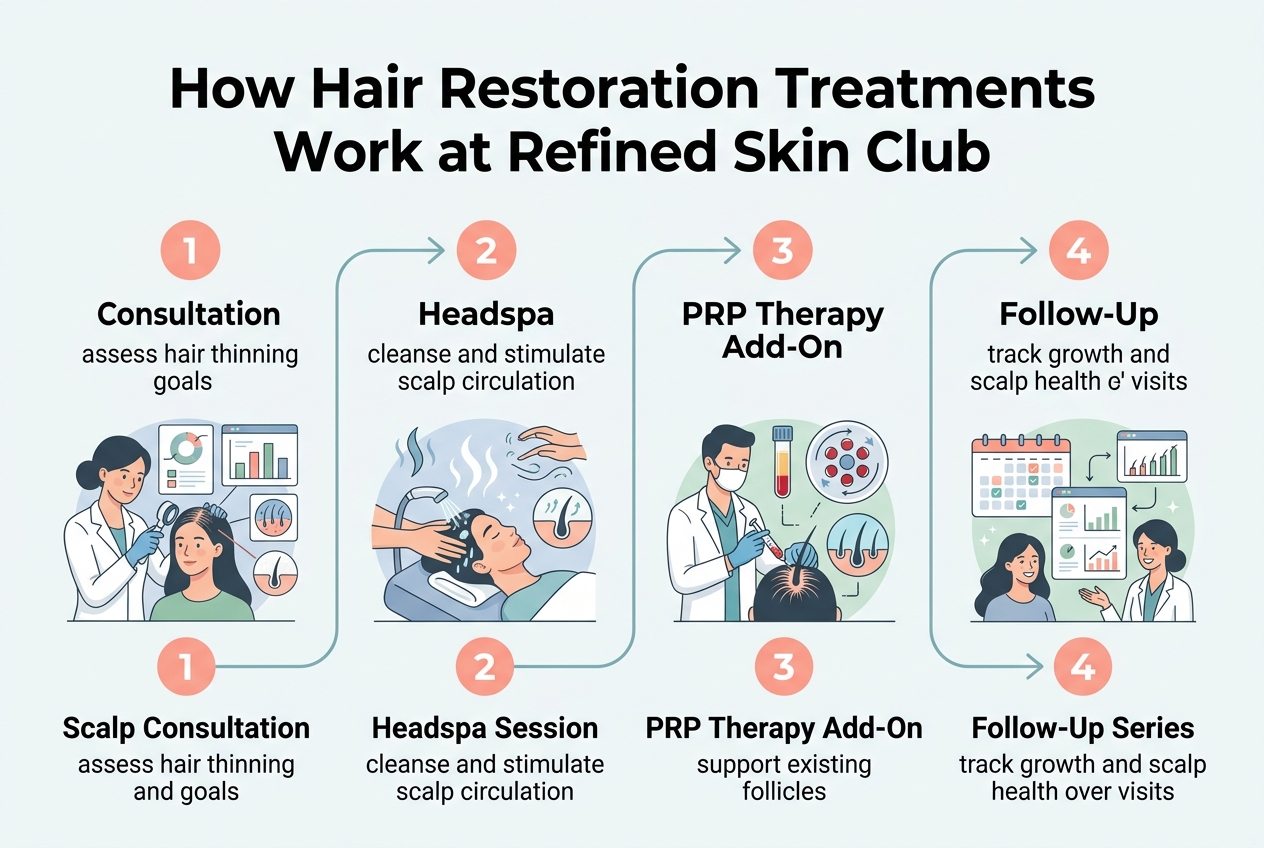
PRP therapy and hair restoration treatments sit between doing nothing and going under the knife. PRP uses your own blood, spun down to isolate platelet-rich plasma, then reintroduced to the scalp to encourage existing follicles to function better. Hair restoration treatments often pair with it, targeting circulation and the scalp environment follicles depend on. Neither adds a single new follicle. Think of it as better farming, not more land.
That’s the honest trade-off: no incisions, no downtime, but also no guarantee of plugging in hair where none exists. Many local businesses offering these services will tell you upfront that candidates with some remaining follicle activity tend to see the most change, while completely dormant areas respond less predictably.
Results also build gradually, typically across a series of monthly sessions over three to six months before thickening becomes noticeable. Don’t expect a dramatic before-and-after after one visit. Patience is the actual price of admission here, more than the dollar cost of any single session.
Product Care Between Appointments
What you use at home decides whether your results last six weeks or fourteen. Keratin bonds break down faster when they’re hit with the wrong products, so your shower routine matters just as much as the salon chair did. The science behind why keratin reacts to certain chemical treatments is well documented, and Effect of pretreatment of wool fabric with keratin on its… gives a useful look at how keratin fibers respond to different formulas, even outside the hair-salon context.
Most of this comes down to a short list of habits, not a shopping spree. Here’s what actually protects the treatment:
- Switch to a sulfate-free shampoo, since sodium lauryl sulfate strips the smoothing film and can shorten the treatment’s life by weeks.
- Follow with a repairing conditioner formulated to seal the cuticle, which keeps strands glassy and resists the frizz that creeps back in humid weather.
- Add a deep masque once a week for extra moisture and shine, especially if your hair runs dry or color-treated.
- Skip tight ponytails, clips, and headbands for at least the first week, since pressure can leave dents or waves in freshly bonded hair.
- Stay out of chlorinated pools and ocean water during that same early window, as salt and chlorine both degrade the bond before it fully sets.
- Rinse with lukewarm water instead of hot, since high heat opens the cuticle and speeds up fade.
Think of these products as insurance, not an upsell. Spend a little more on the right bottles now, and you’ll stretch every dollar of the original service. Skip them, and you’re basically paying for a treatment twice.
Building a Smoother, Healthier Overall Look
Pairing Hair Day with Skin Day
Smooth hair draws attention straight to your face. So if your skin looks tired or textured, the contrast actually gets more obvious, not less. That’s why many people now book a skin appointment around the same time as their smoothing treatment, instead of treating the two as separate errands. Dermaplaning and microdermabrasion both work on surface texture and glow, buffing away dead skin and peach fuzz so makeup sits flatter and light bounces more evenly off your face.
Chemical peels go a layer deeper, targeting tone and rough patches, but they’re not a one-and-done fix. Most plans build gradually across a series of visits rather than forcing results in one sitting. That’s a good thing. Slower, repeated exfoliation tends to be gentler on your barrier than a single aggressive session.
Planning a Full Refresh Before a Big Event
Timing matters more than people expect. Below is a rough sequencing guide many providers use when a client wants hair and skin looking their best for the same date.
| Timeframe Before Event | Focus | Why It’s Scheduled There |
|---|---|---|
| 3–4 weeks out | First chemical peel or microdermabrasion session | Allows flaking and redness to settle well ahead of time |
| 2 weeks out | Second peel session, if doing a series | Builds on tone improvement without overlapping downtime |
| 1 week out | Hair smoothing session | Gives any scalp sensitivity time to fade |
| 3–4 days out | Dermaplaning, lash and brow shaping | Fresh glow and framed eyes without visible irritation |
| Day before | Light hydrating facial only | Calm, photo-ready skin, no new exfoliation |
Once the hair is styled, lashes and brow shaping do the rest of the work, framing your face without adding anything heavy or permanent. A virtual skin consultation is genuinely useful here, since mapping out a personalized plan around your age, skin type, downtime tolerance, and budget keeps the whole sequence realistic instead of rushed. It also helps to understand what’s actually happening at the follicle level, and resources that explain hair biology and thickening treatment options can clarify why some strategies work gradually rather than overnight. Rushed prep rarely looks rushed-proof. Give it the weeks it needs.
Before choosing a path forward, it helps to be honest about what you’re really after—whether it’s a quick confidence boost, a long-term change in how your skin feels, or simply a reason to slow down for an hour. People often mention leaving with fuller lashes, a calmer mind after a headspa session, or just appreciating an esthetician who actually explained what was happening to their skin, and those small details tend to matter more over time than any single treatment name. Whatever you decide, give yourself permission to ask questions, compare the pace of results to your own patience, and pick the option that fits both your goals and your everyday life.